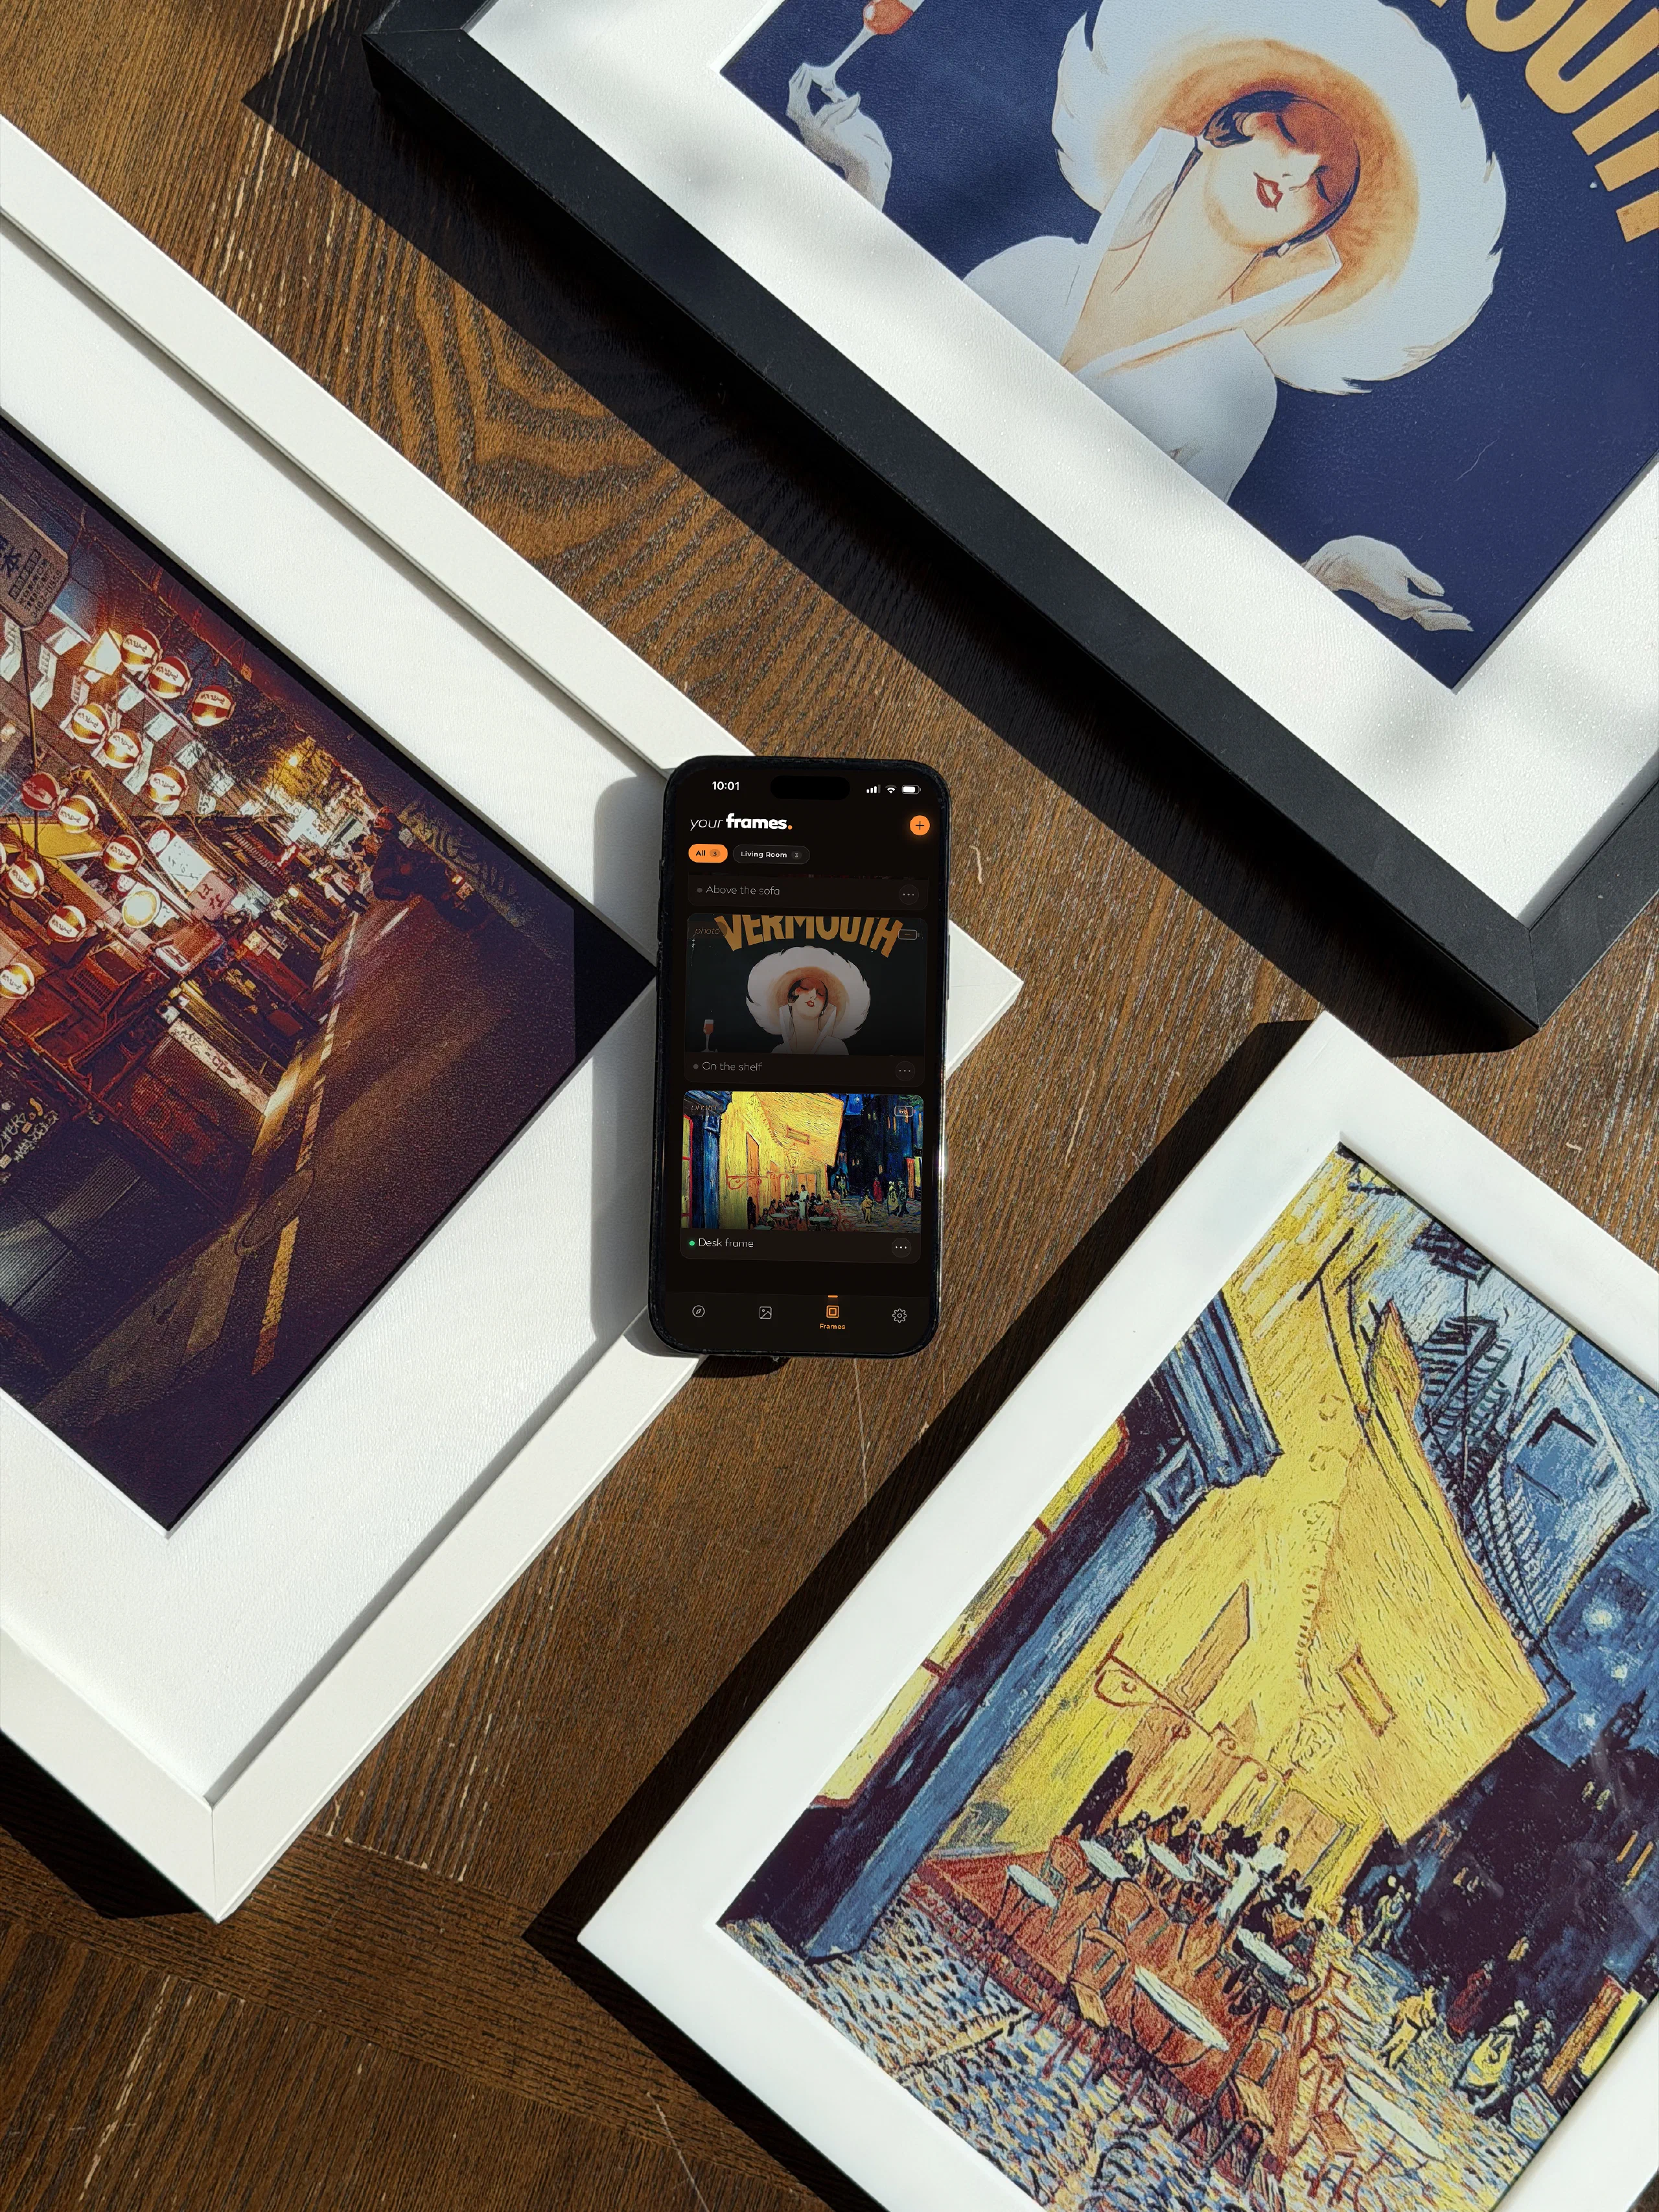
A connected frame: from firmware to app.
Bringing a frame to life isn’t easy. Here’s the story of building the hardware and the app in parallel. And making them talk to each other..
Where it started: Python, a Raspberry Pi and a power cable
Before the ESP work began, I had been experimenting with the most straightforward path: a Raspberry Pi, some Python scripts, images pushed to the e-ink screen over WiFi. It worked, technically. But you had to keep the Pi plugged in at all times, it was the size of a brick, and calling it ‘wireless’ was generous.
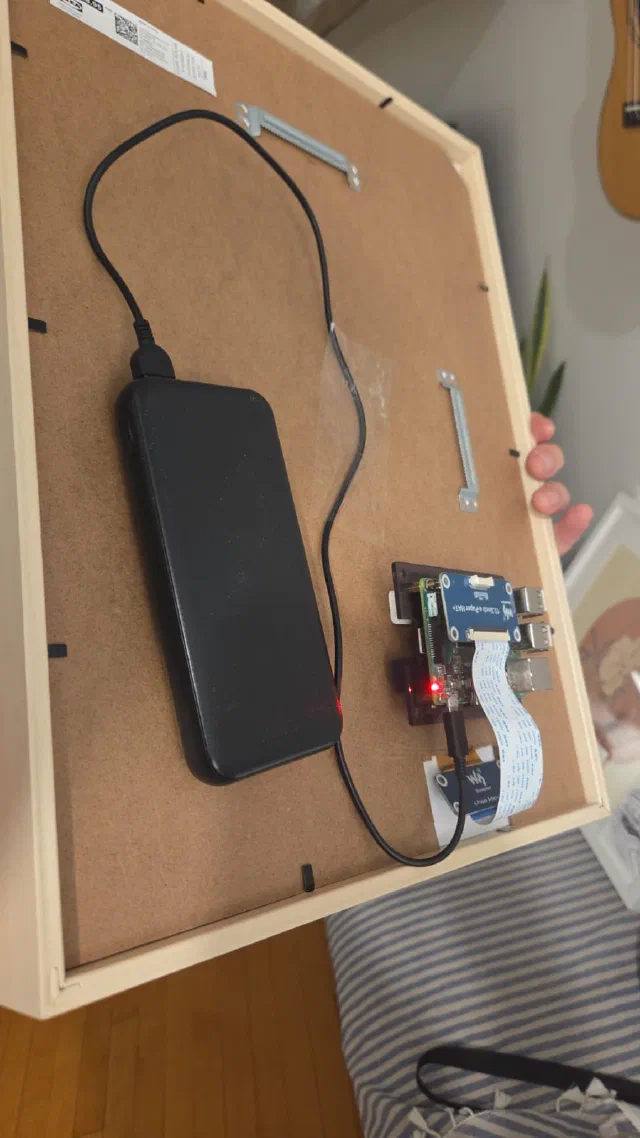
It proved the concept. But it wasn’t a product.
So Alexis stepped in. We needed something that could actually live inside a frame: small, low power, no mandatory cable. That’s when we started with the ESP32 family.
Choosing the right chip: low power for the win
E-ink displays are well known for their low power capabilities, so we needed a chip that respected that. We naturally started working with the ESP32-C6 devkit which has BLE built in.
For the non-technical folks: BLE stands for Bluetooth Low Energy, a standard wireless communication protocol for IoT devices. That’s exactly what we wanted so we ordered some devkits and started soldering the e-ink display to the chip!
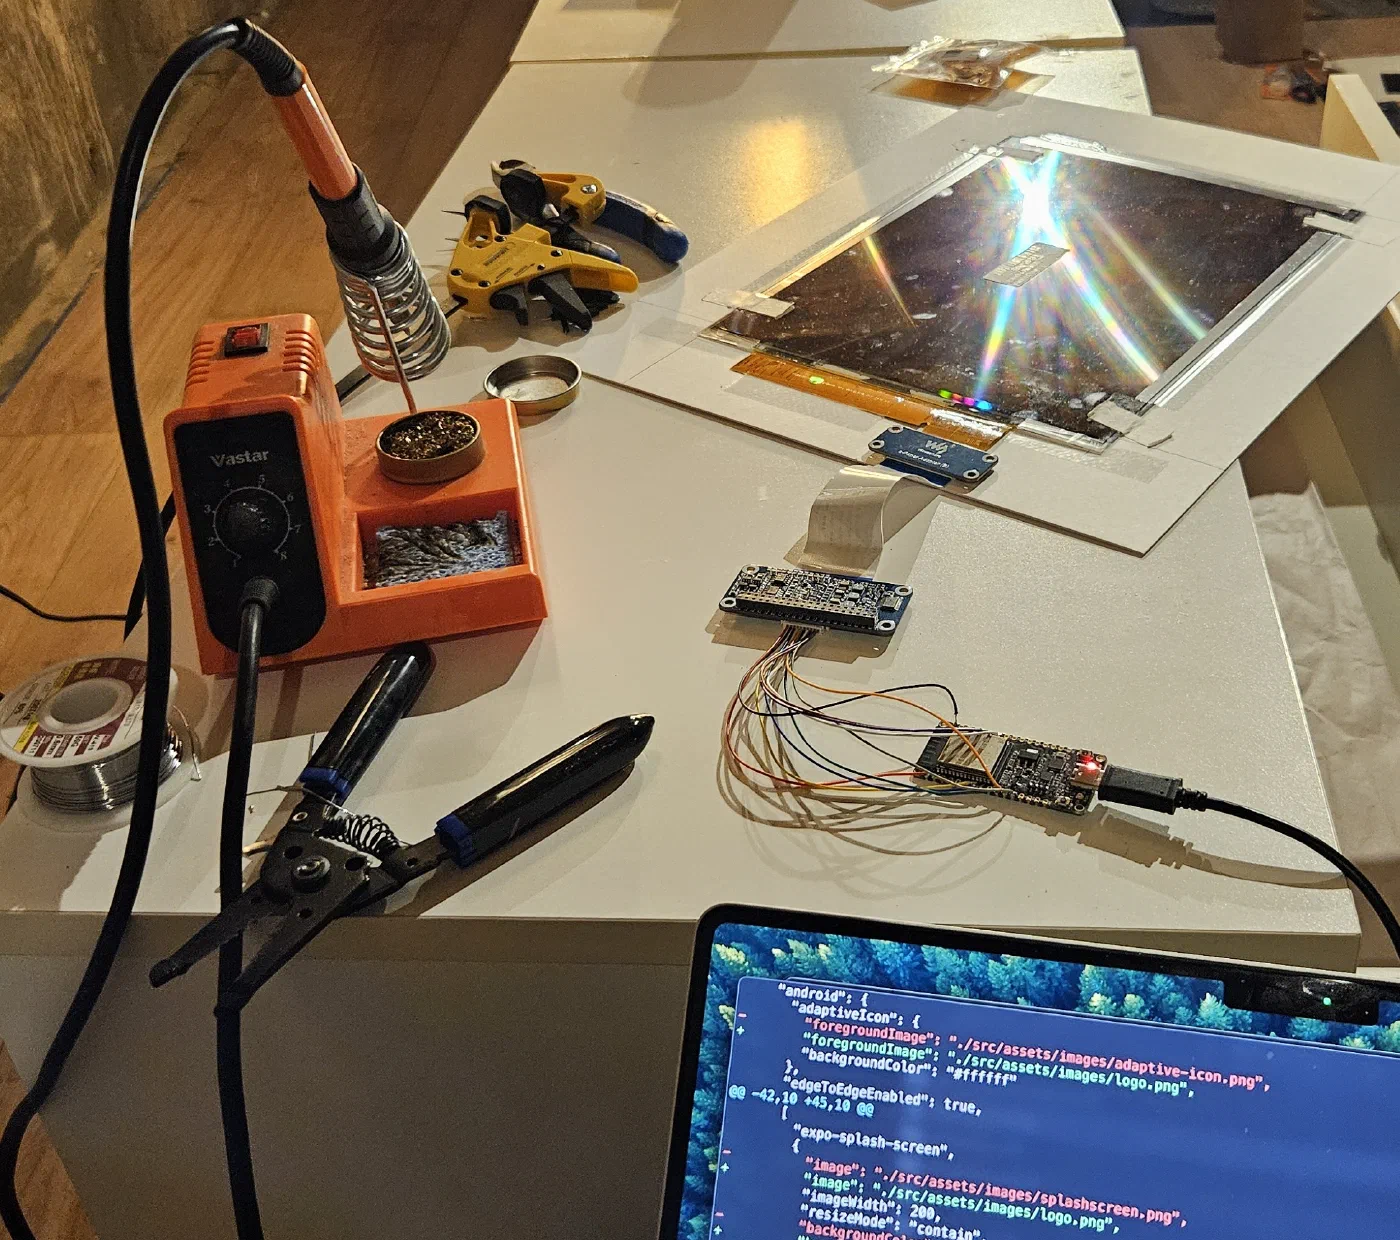
Then we got to work on our firmware, written in C. Early results were entertaining. The first image we successfully sent over BLE arrived half-rendered: the top half of the image, then grey. But we were seeing progress.
Bluetooth Low Energy is built for small, occasional data packets. Nobody designed it for ’transfer a full photo from a phone to a chip inside a picture frame.’ So we had to make it work anyway.
But we needed more
Once the firmware was stable and we could reliably send images over BLE, we moved to the ESP32-S3. Not because the S3 has better BLE capabilities. The real reason was more practical: the S3 has significantly more GPIO pins.
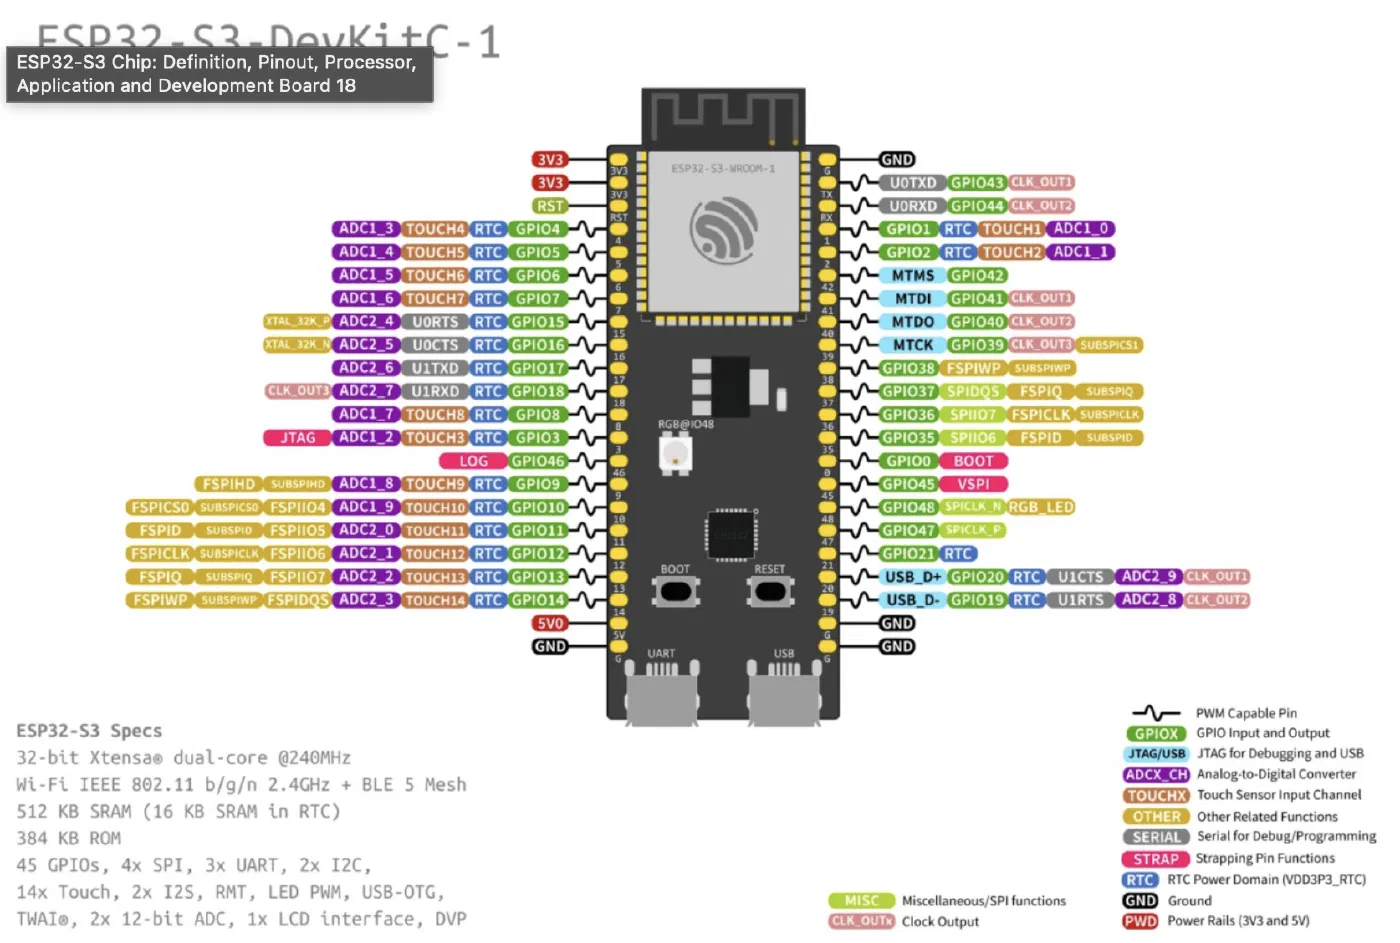
More GPIO is like having a home electrical panel with more slots. You can connect more things.
GPIO matters a lot for us. Bringing images to life opens up so many new possibilities, and we really want to rethink what a digital frame can do. So we started connecting the chip to everything else the frame needed:
- MicroSD for local image storage
- NFC for seamless pairing
- Gyroscope to detect orientation
- LEDs and buttons
Each new component was its own integration challenge. But each one also made the product more real.
Each of those peripherals needs to be wired to something, and the C6 simply didn’t give us enough room to grow.
Building the app: a better way to interact with the frame
Sending images from a terminal was great for testing, but we definitely needed a better way to interact with the frame. So we started building the app using React Native and Expo.
It took several iterations before we had something we were genuinely happy with, technically and visually. An app for a product about aesthetics has to feel right. Early versions were functional but clinical.
| The beginning | Where we are now |
|---|---|
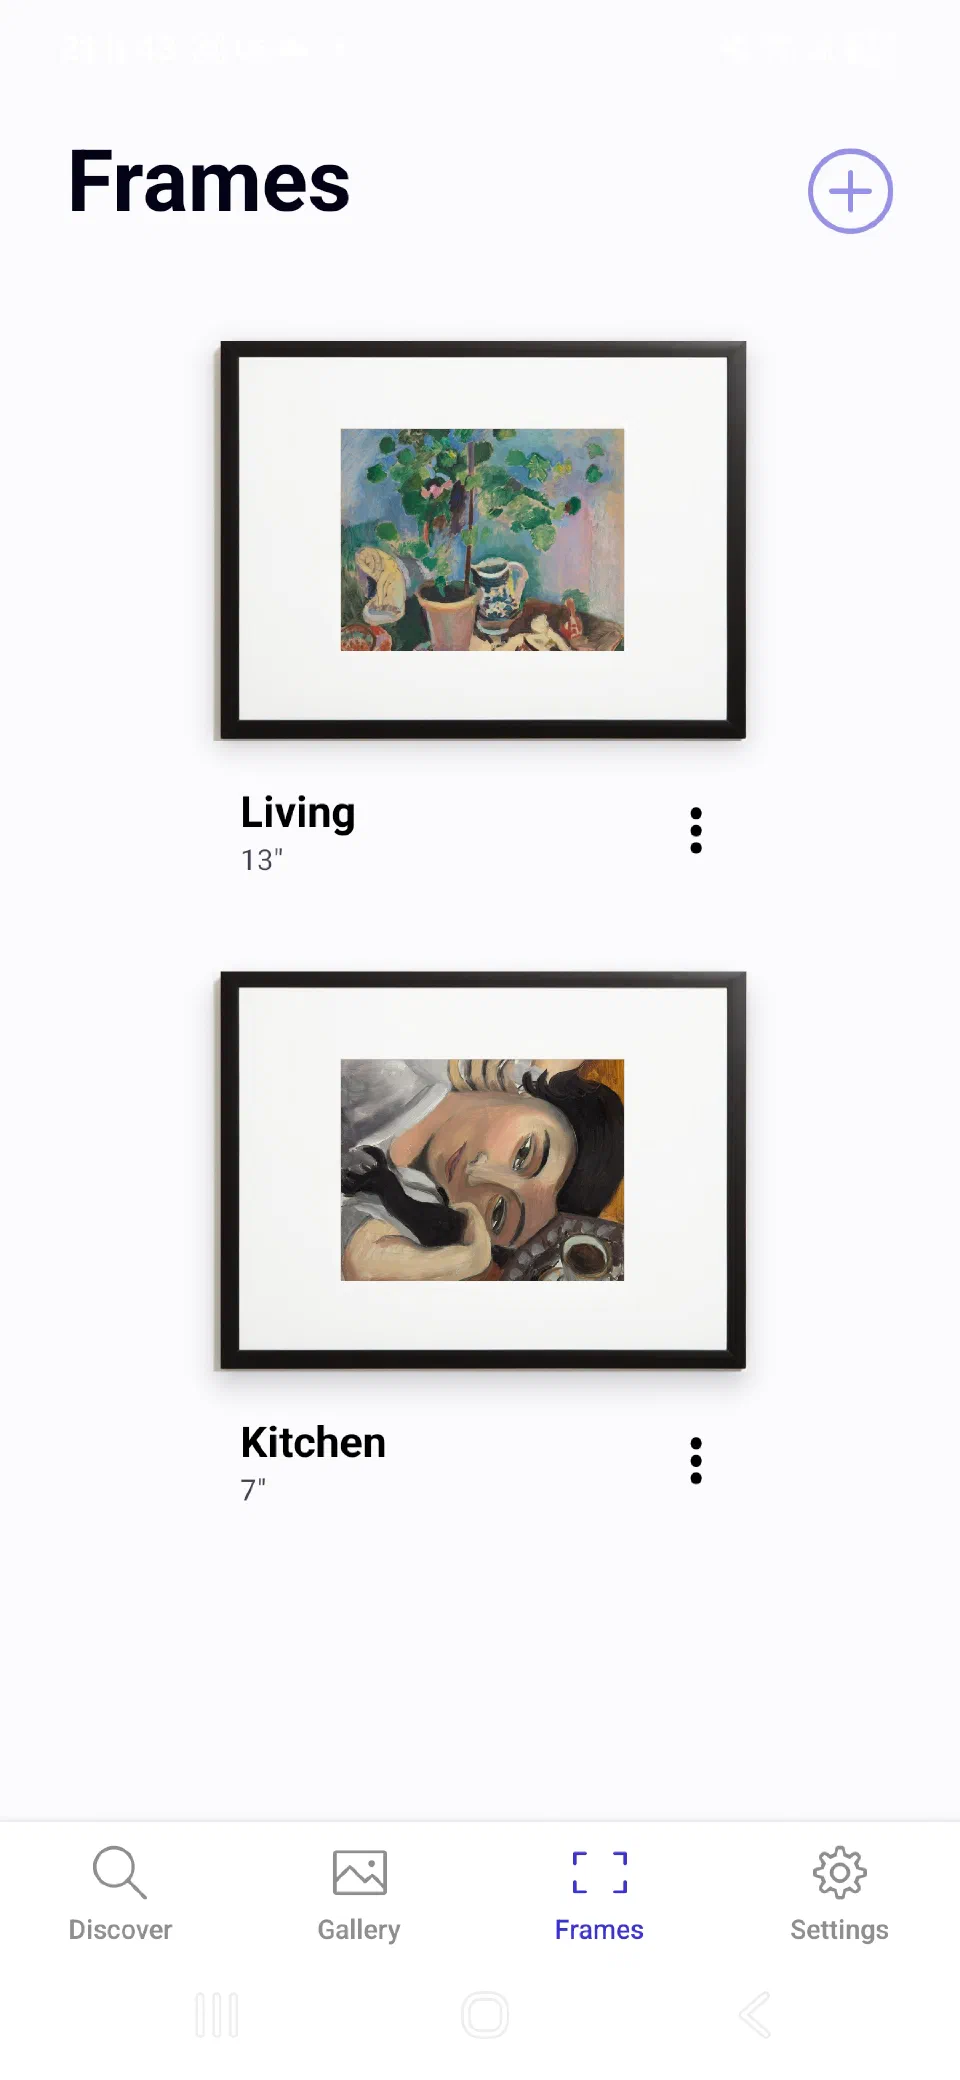 | 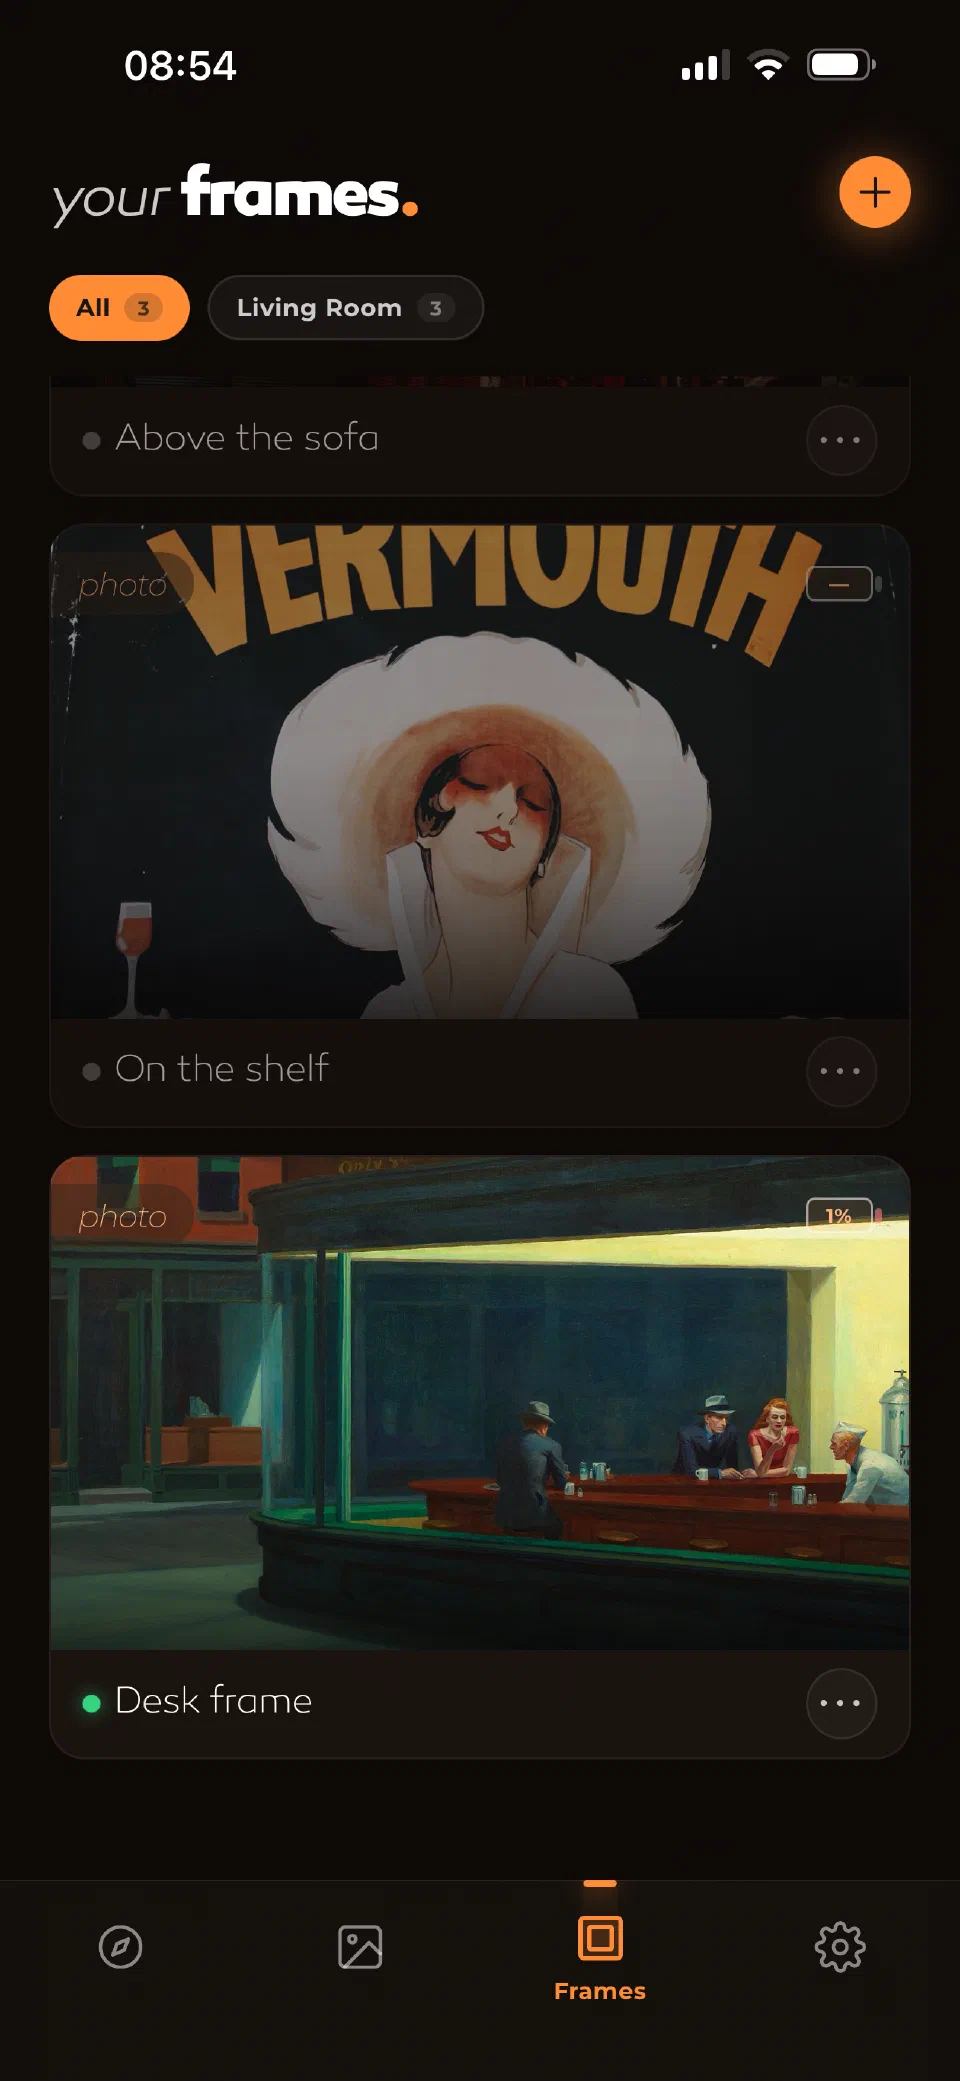 |
Note: cross-platform from day one (Android and iOS)
We are still actively working on the app and shipping new features. The current version is stable and already lets you manage your frames, explore our curated gallery, create playlists and schedules, and much more.
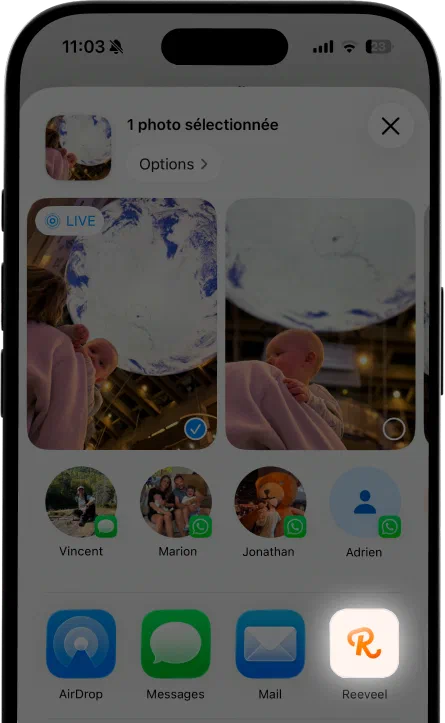
For example, one recent addition: you can now send an image to your frame from anywhere on your phone. Got a photo you love on WhatsApp? Hit share, pick the Reeveel app, and it’s on your wall.
Want to be part of our beta testing program? Send us an email at contact@getreeveel.com
From devkit to production chip
You might be thinking: an ESP32 devkit is great for a prototype, but is it really what you want to put in the hands of people around the world? You’re right. That’s why, in parallel, we stopped using development boards entirely and designed our own PCB together with our manufacturer.
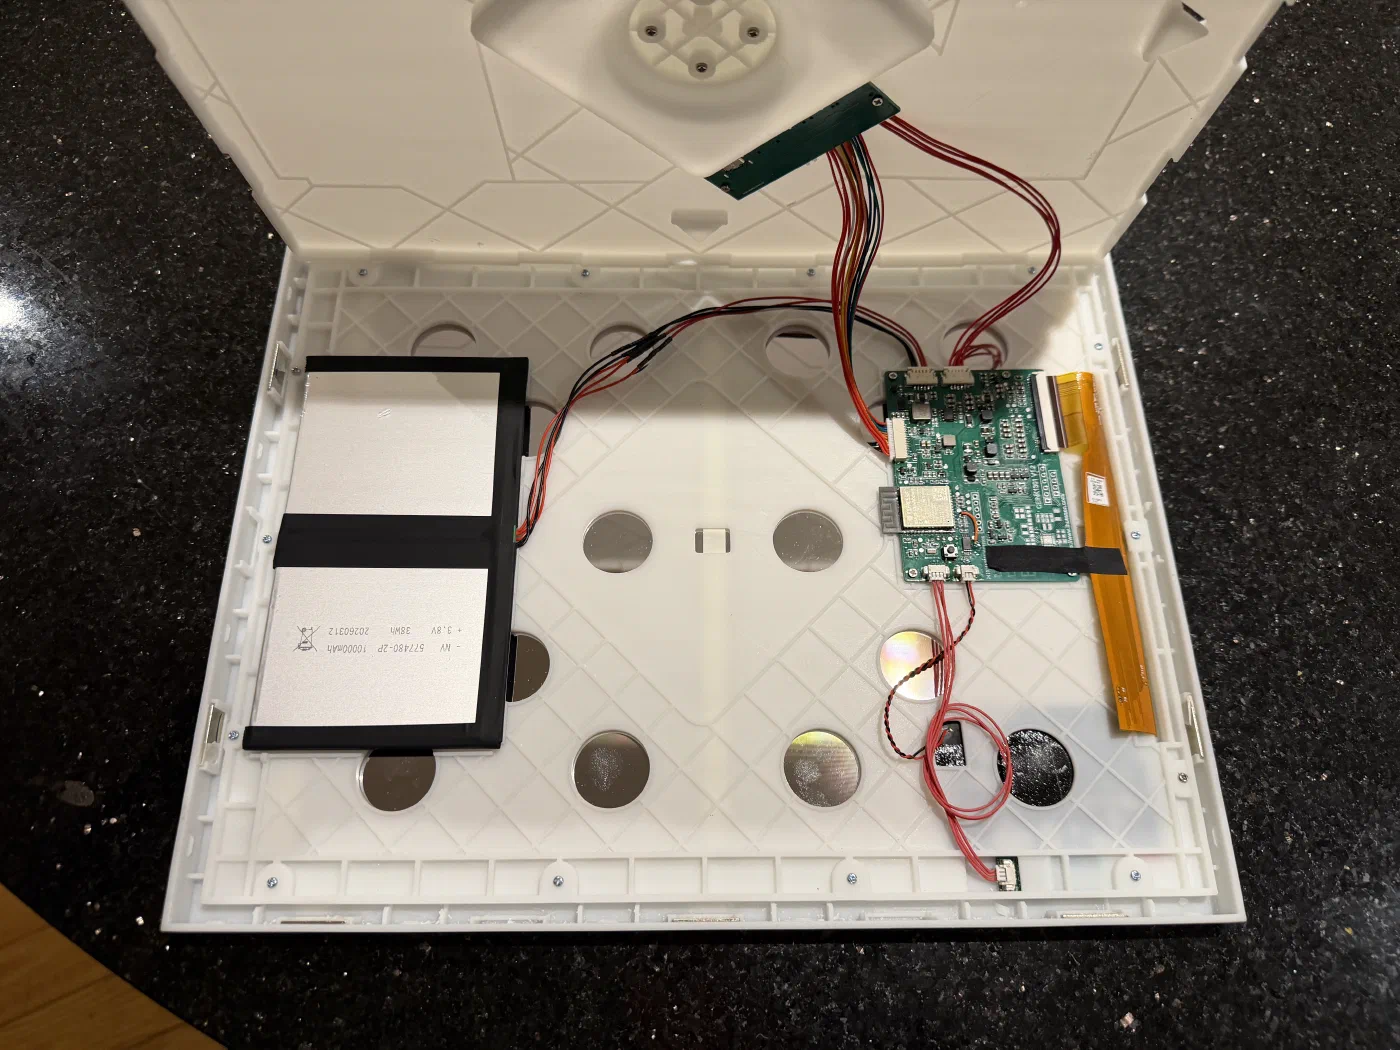
The dream: a custom circuit board built exactly for what the Inkolor frame needs, nothing more, nothing less.
This is a significant step. A devkit is a general-purpose tool for prototyping. A production PCB is a commitment: a specific layout, specific components, specific tolerances. It’s also what lets you build a product that’s manufacturable at scale, reliable, and compact enough to actually fit inside a real frame.
One more thing we’re building
Building the app kept surfacing the same question: where does the art come from? Uploading your own photos is one use case. But what about discovering new artists? What about a place where artists can share their work and people can actually live with it?
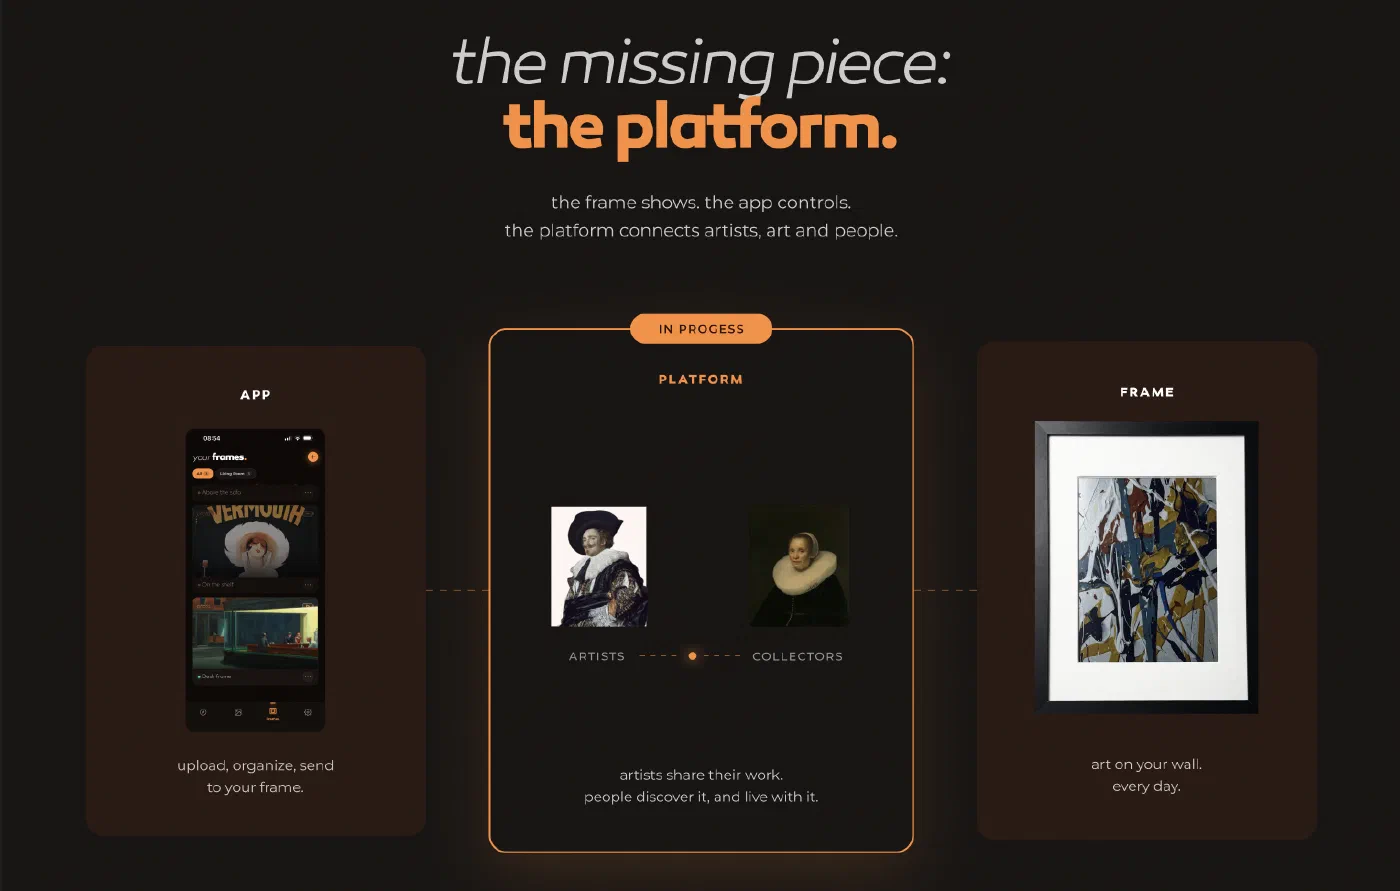
That’s the part of this project we’re probably most excited about long-term.
That’s what the platform is about. A space where artists can share their work and people can discover it, interact with it, and put it on their wall. We’ll cover it properly in an upcoming article.
Follow us on Instagram @getreeveel or sign up for our mailing list. Kickstarter launches next Month!